We log search terms to improve our documentation. For more information, read our Privacy Policy.
From WHM to Website
Last modified: 2026 July 8
Overview
This document describes how to quickly publish a website on a newly-provisioned cPanel & WHM server.
- This procedure only covers the minimum steps to publish a website. We strongly recommend that you read the rest of our documentation and configure all of the useful features on your cPanel & WHM server.
- You can skip any steps that you have already performed (for example, Log in to WHM or Set the hostname).
- Due to networking requirements, you cannot run an IPv6-only cPanel & WHM server. You must have at least one IPv4 address.
Prepare WHM
This section describes the minimum necessary configuration for a server to host a website.
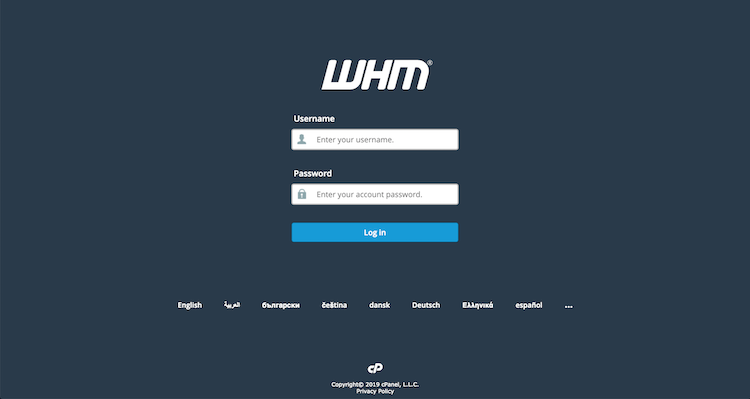
Log in to WHM
You must purchase a license for cPanel & WHM. New installations automatically receive a free 15-day trial license.
- Navigate to the following URL, where
IPADDRESSrepresents your server’s IP address:https://IPADDRESS:2087/ - Enter the
rootusername and password. - Click Log in.
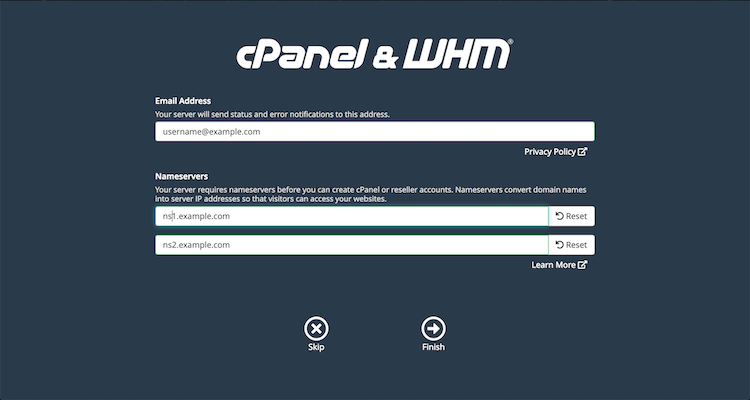
- Agree to our software license terms. A new interface will appear.
- Enter your email address in the Email Address text box.
- Enter your default nameservers in the Nameservers text boxes. Your hosting provider or networking provider should provide these.
- Click Finish. The WHM Home interface will appear.
For more information, read our How to Log in to Your Server or Account and Getting Started documentation.
Set the hostname
Your server’s hostname uniquely identifies it on the internet. Most hosting providers will configure your server’s hostname as part of the provisioning process. However, you may need to perform these steps manually.
- Navigate to WHM’s Change Hostname interface (WHM » Home » Networking Setup » Change Hostname).
- If you wish to change the hostname, enter a new hostname in the text box.
- Click Change. A confirmation message will appear.
- Click Add an A entry for your hostname. A new interface will appear that displays the main IP address of the server.
- Click Add Entry. A confirmation message will appear.
Warning:
After you change the server’s hostname, your browser may display a warning about a change to the server’s SSL certificate.


Confirm the DNS resolvers
Your server’s DNS resolvers allow your server to look up the IP addresses of other sites on the internet. Most hosting providers will configure your server’s resolvers as part of the provisioning process. However, you may need to perform this step manually.
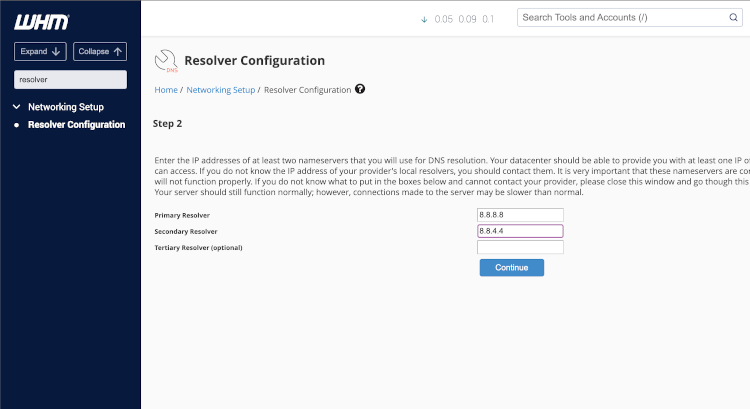
- Navigate to WHM’s Resolver Configuration interface (WHM » Home » Networking Setup » Resolver Configuration).
- Click Proceed. A new interface will appear.
- Enter the desired IPv4 or IPv6 addresses in the Primary Resolver and Secondary Resolver text boxes.
Note:
If your hosting provider did not give you this information, you can use Google® nameservers (
8.8.8.8and8.8.4.4). - To configure a third resolver, enter that IP address in the Tertiary Resolver text box.
- Click Continue. A confirmation message will appear.
Configure nameservers
We recommend that you set up the nameserver software on your server to ensure full functionality of all services.
If you’re using your domain registrar or your hosting provider to handle nameserver services, you can skip this section. Instead, contact your domain registrar and hosting provider for information on how to set your DNS registration and records.
Your server’s nameservers allow you to host your own DNS entries for sites. This allows you to control the branding of domains on your server when others look up information about them.
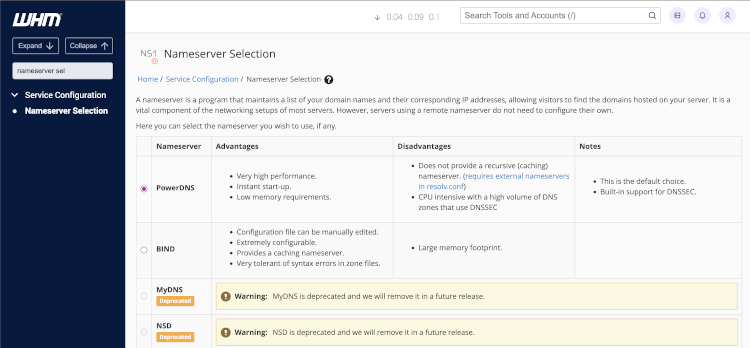
- Navigate to WHM’s Nameserver Selection interface (WHM » Home » Service Configuration » Nameserver Selection).
- Select the nameserver software that you wish to use.
- Click Save.
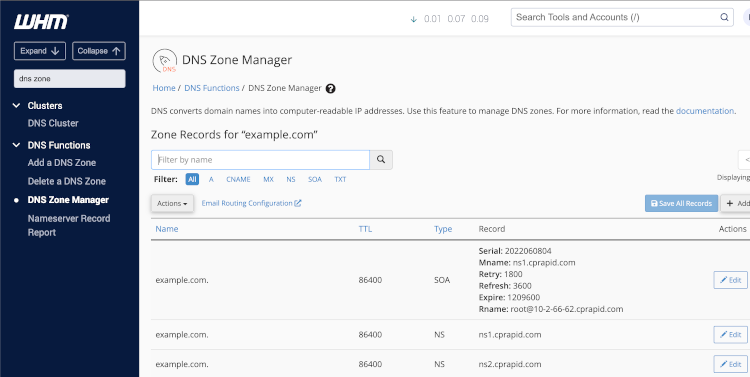
- Navigate to WHM’s DNS Zone Manager interface (WHM » Home » DNS Functions » DNS Zone Manager).
- Select your hostname’s zone file and click Manage.
- Add A records for NS1 and NS2 entries.
- Change the NS entries to your nameservers.
- Click Save. A confirmation message will appear.
- Go to your registrar’s website.
- Change the nameserver records for your main domain to point to your own nameservers.
For more information, read our How to Set Up Nameservers in a cPanel & WHM Environment and Basic WebHost Manager Setup documentation.
Set up Reverse DNS
Reverse DNS uses pointer records (PTR) to convert IP addresses to domain names.
We strongly recommend that you set the PTR record of your server’s primary IP address to your server’s hostname. However, many hosting providers do not delegate authority for PTR records to their customers. Contact your hosting provider for assistance.
For more information, read our How to Configure Reverse DNS in WHM documentation.
Configure WP Toolkit
If you plan to use WordPress® to create your website, read our WP Toolkit for WHM documentation.
Create the account
To create the cPanel account, perform the following steps:
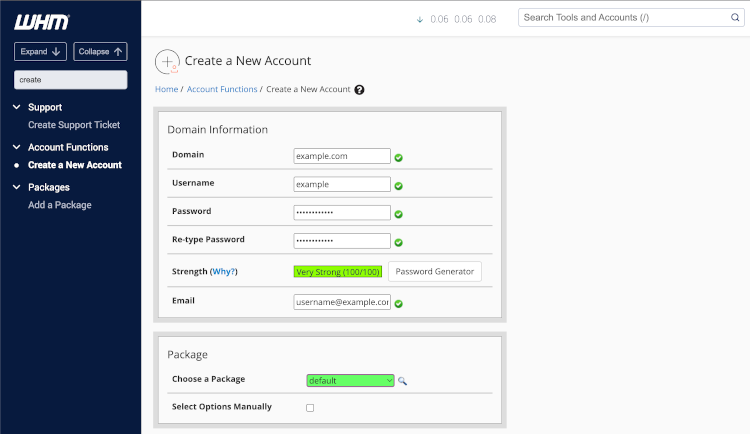
- Navigate to WHM’s Create a New Account interface (WHM » Home » Account Functions » Create a New Account).
- Enter a domain name in the appropriate text box. The interface will suggest a username.
- Enter a password and confirm it. The Password Generator feature can generate a strong password for you.
- Enter a contact email address for the account.
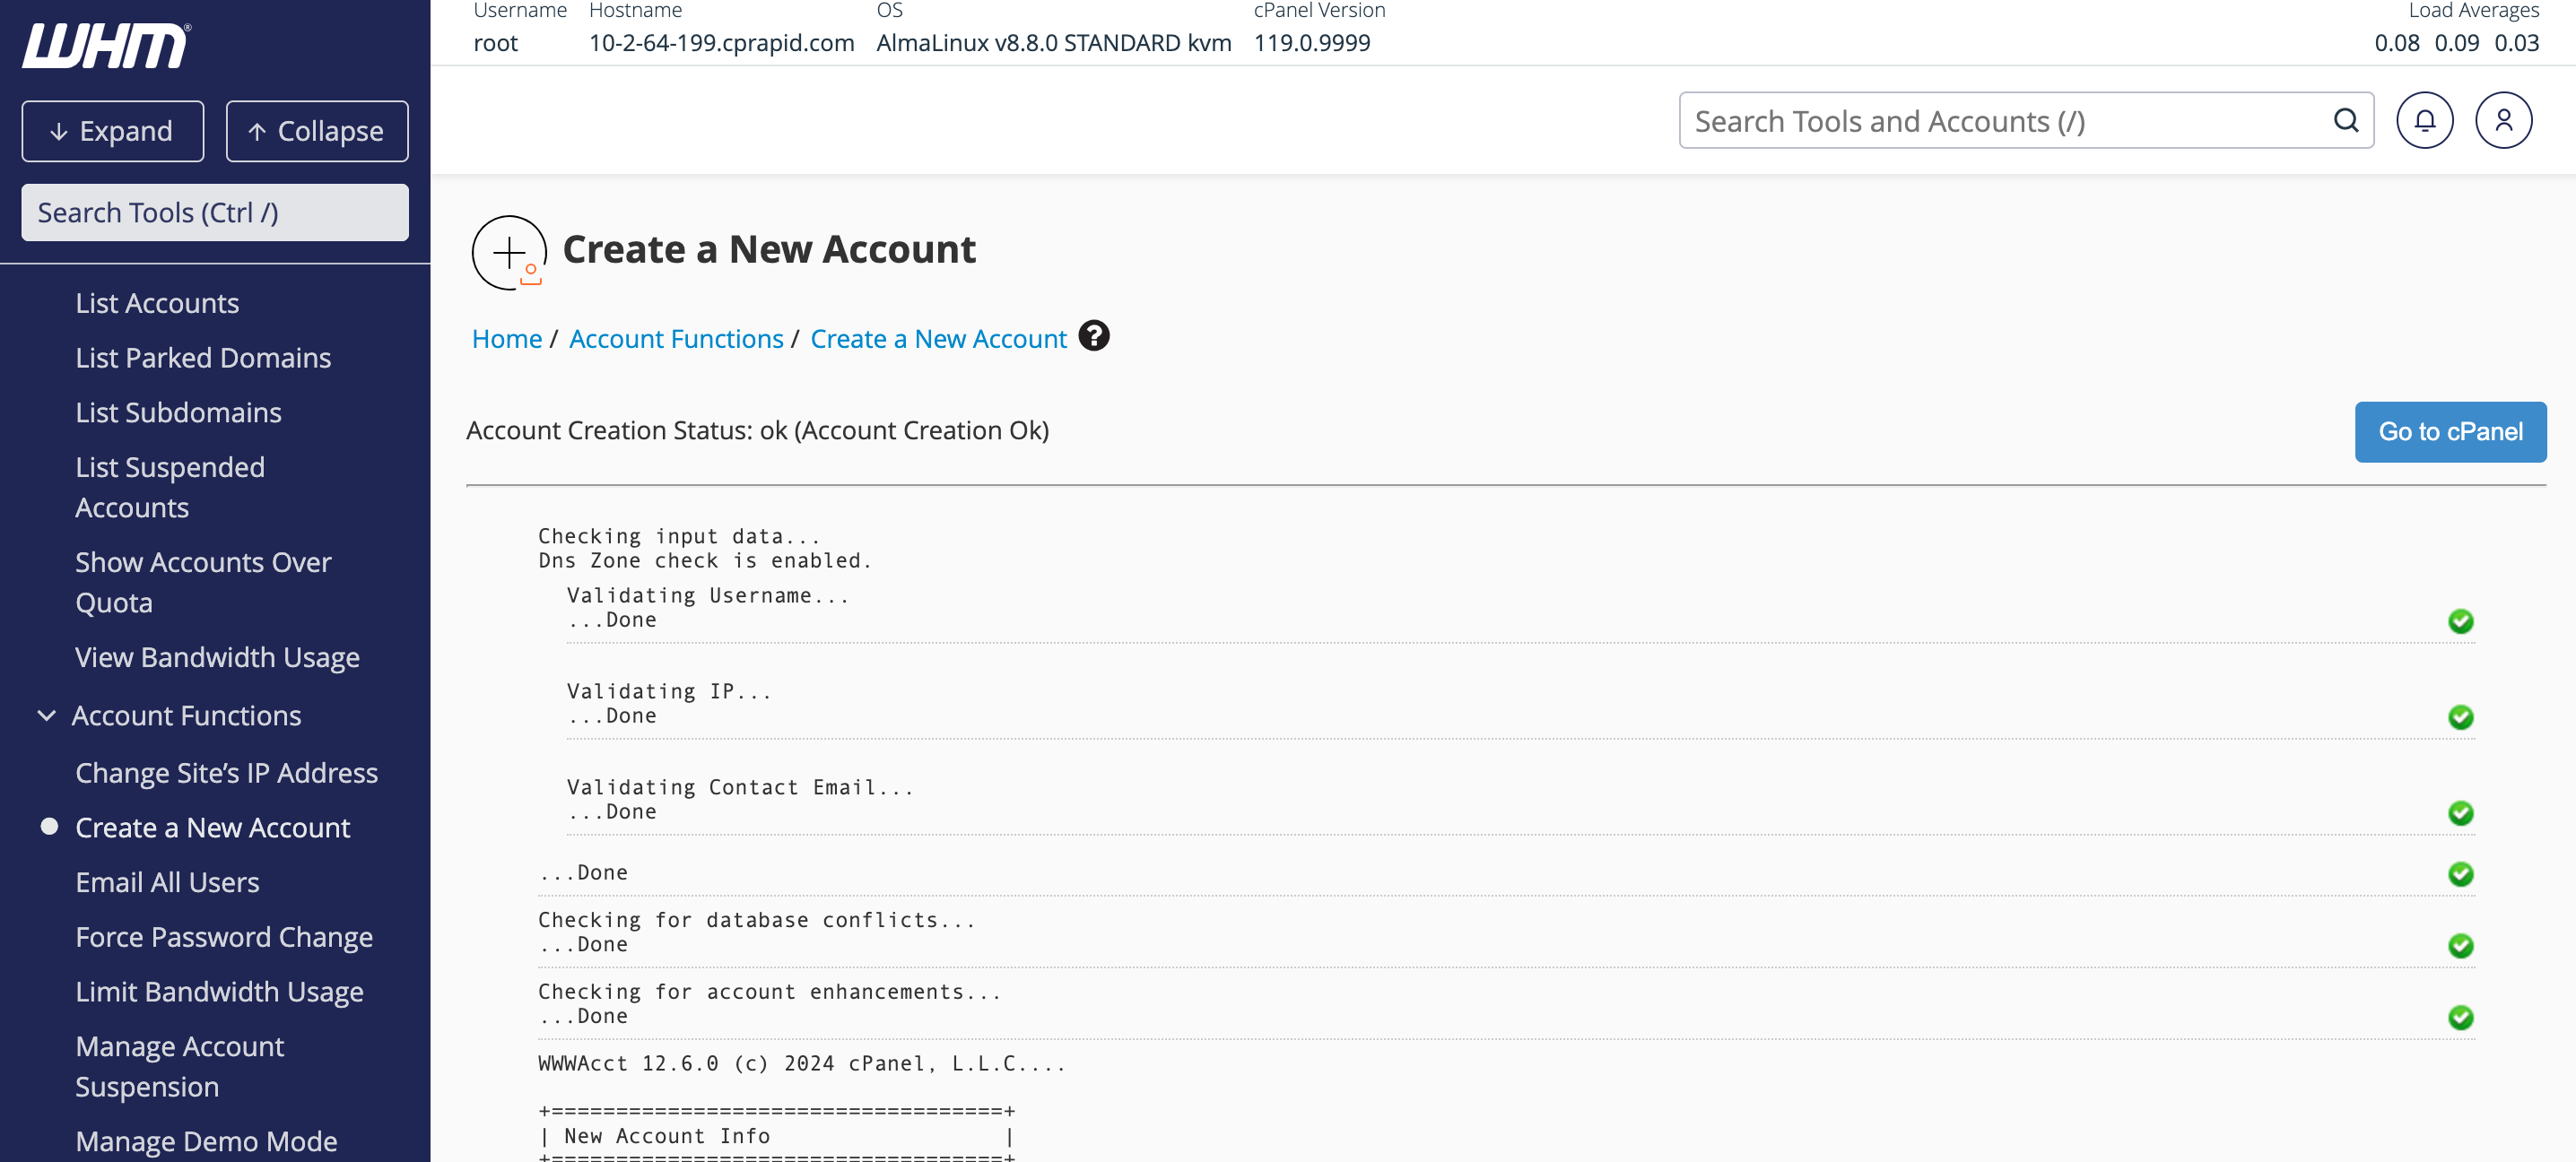
- Click Create. A confirmation message will appear.
If you chose to use your hosting provider or registrar’s nameservers, be sure to configure the DNS records for your domain on their nameservers.
Prepare cPanel
This section describes the minimum necessary configuration for an account to host a website.
Log in to cPanel
For more information and other methods to log in to a cPanel account, read our How to Log in to Your Server or Account documentation.
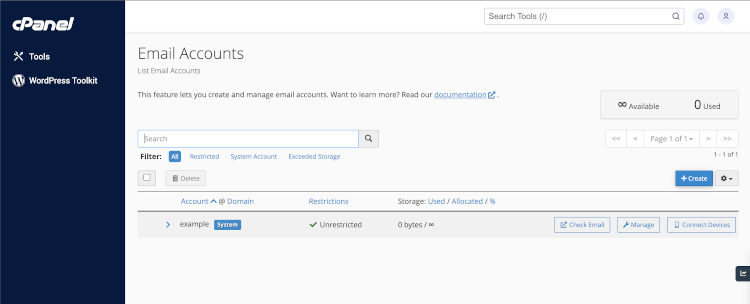
Create an email account
If you plan to use another mail provider for your site, you can skip this section.
- Navigate to cPanel’s Email Accounts interface (cPanel » Home » Email » Email Accounts).
- Click Create.
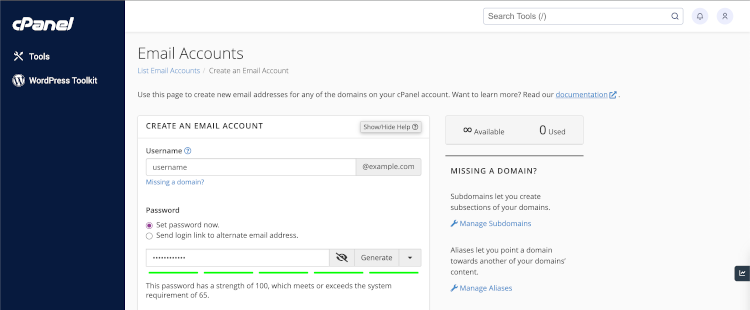
- Enter a username in the appropriate text box.
- Set a password in the appropriate text box.
- Click Edit Settings.
- Enter the storage space for the account in the appropriate text box.
- Click Create.
For steps to test your email account, read our Email Deliverability documentation.
Prepare the website
This section describes how to publish a website on your account.
Select a publishing method
Perform the steps for the publishing method that you plan to use.
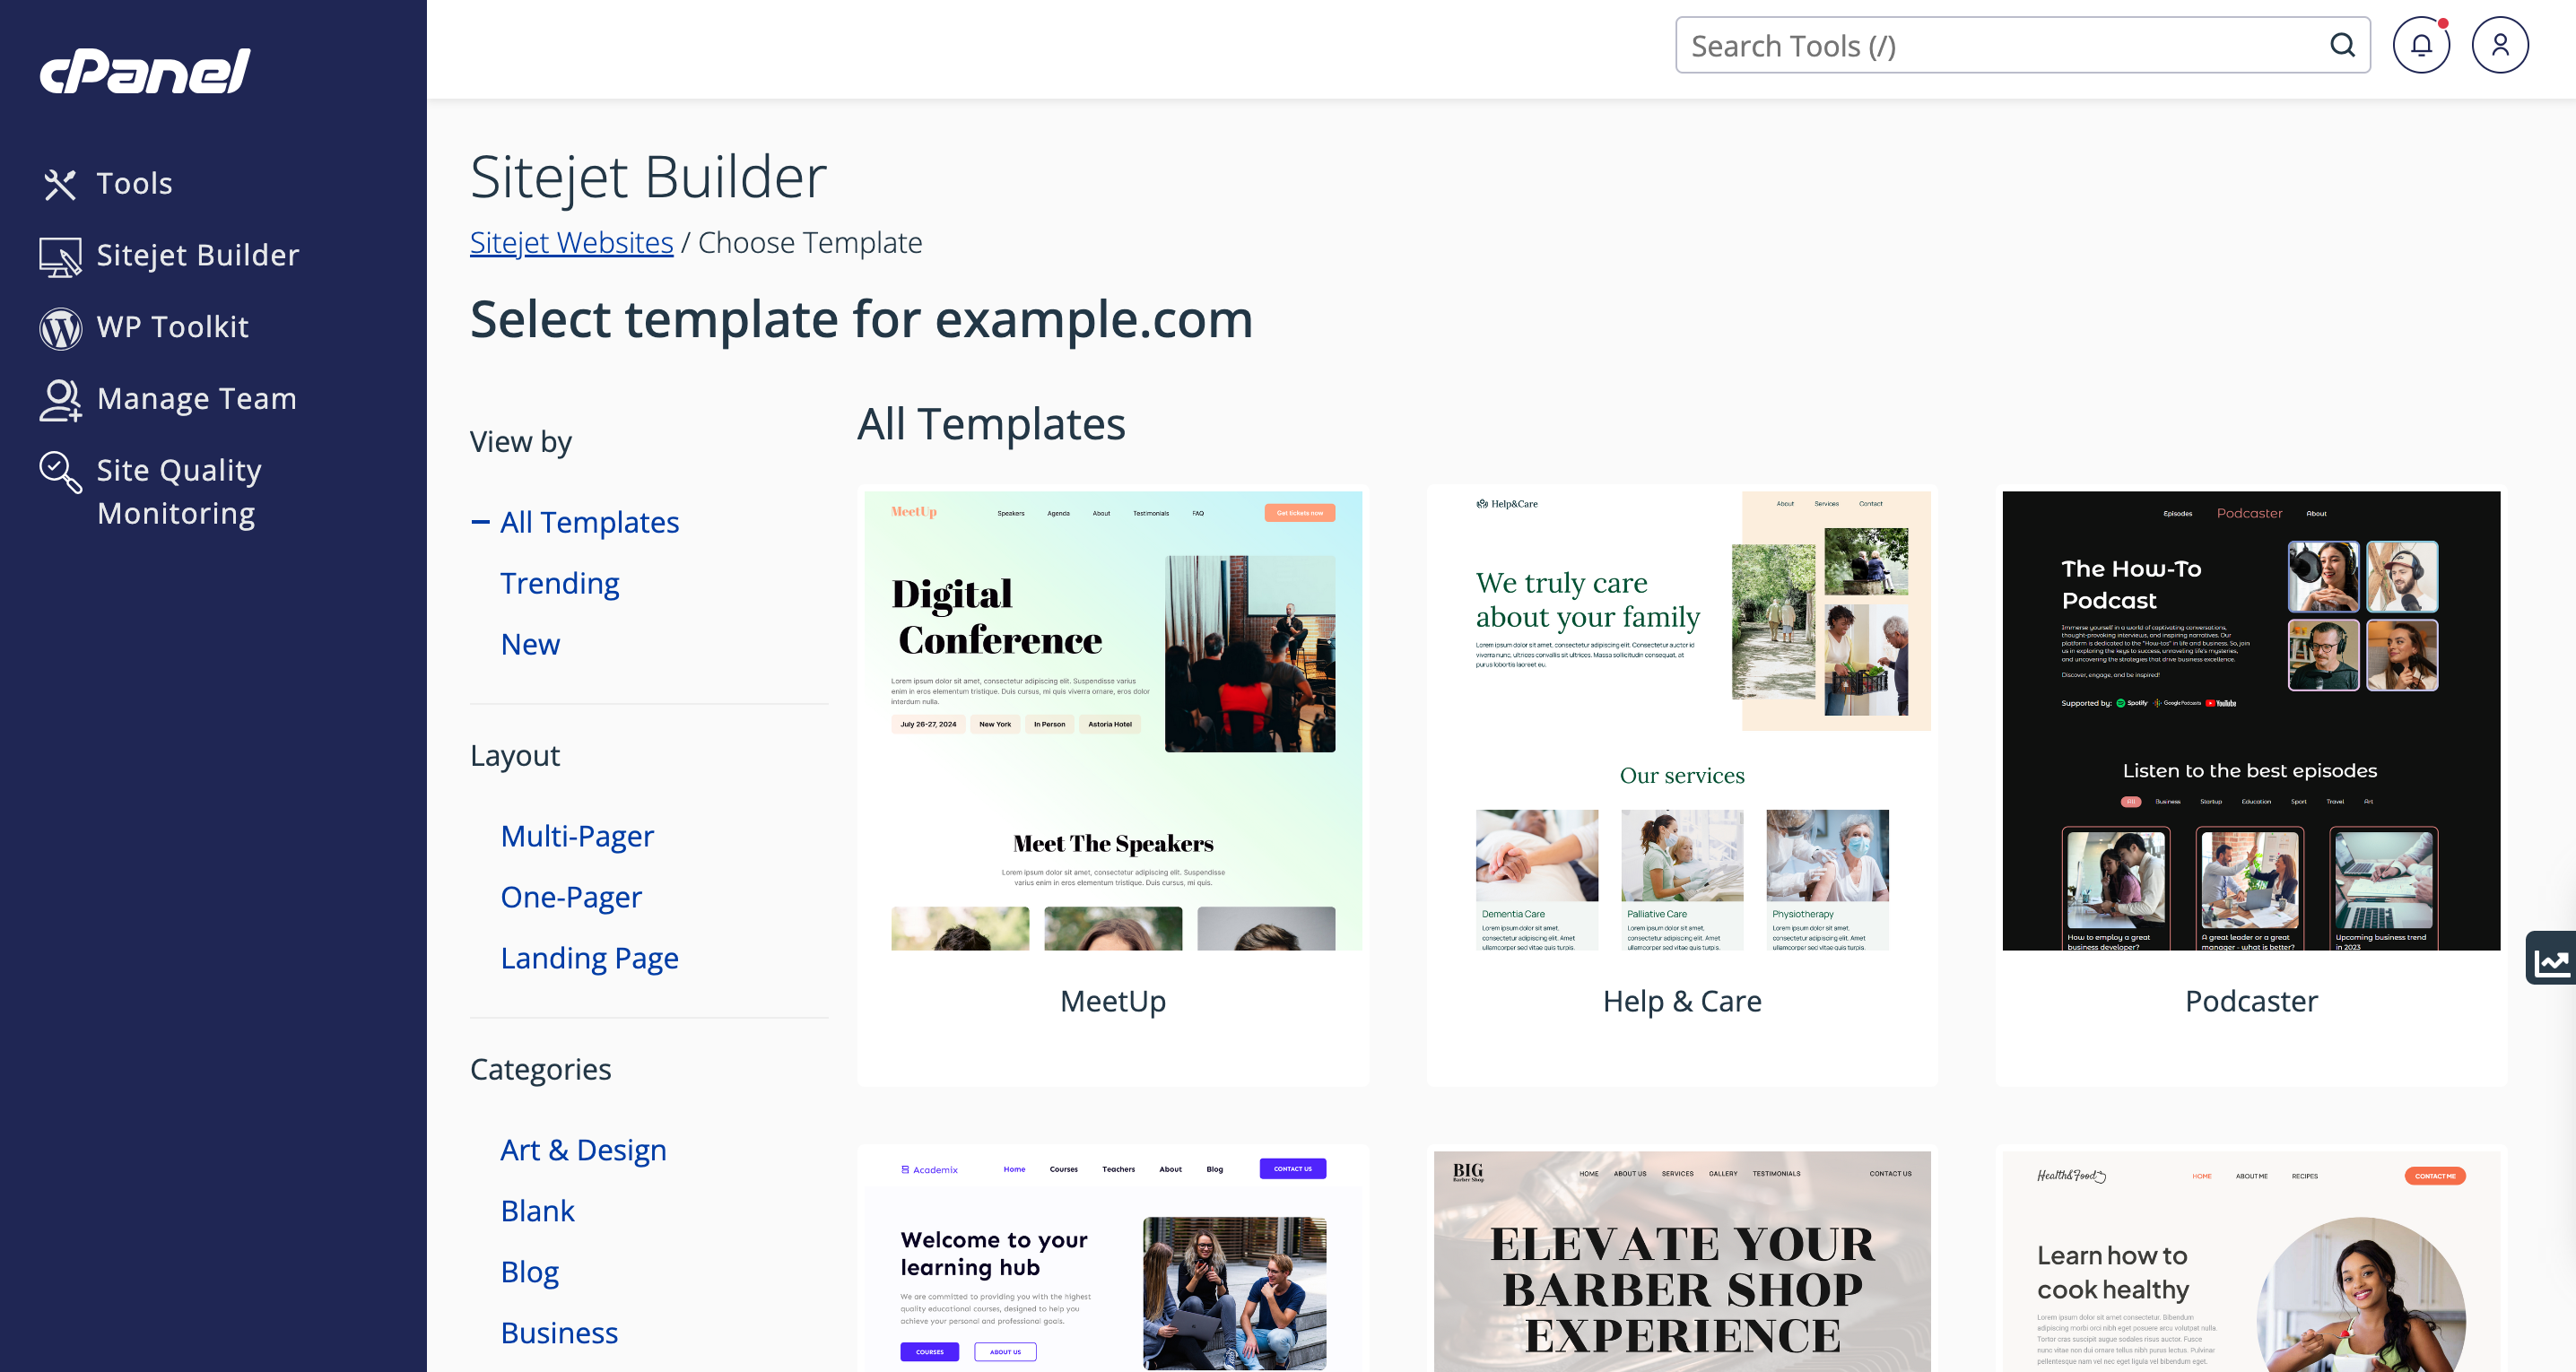
Create a website with Sitejet Builder
Create a WordPress website
The Onboarding Assistant automatically creates a WordPress® website for the new cPanel account if the user selects the WordPress option.
For information about how to install, configure, and manage WordPress sites with WP Toolkit, read Plesk’s WP Toolkit documentation.
For more information about WordPress, visit the WordPress Support website.

Create a placeholder page with Site Publisher
We removed the Site Publisher interface in cPanel & WHM version 134. For more information, read our cPanel Deprecation Plan documentation.
Upload your own content
To securely upload your own content to the website, perform the following steps:
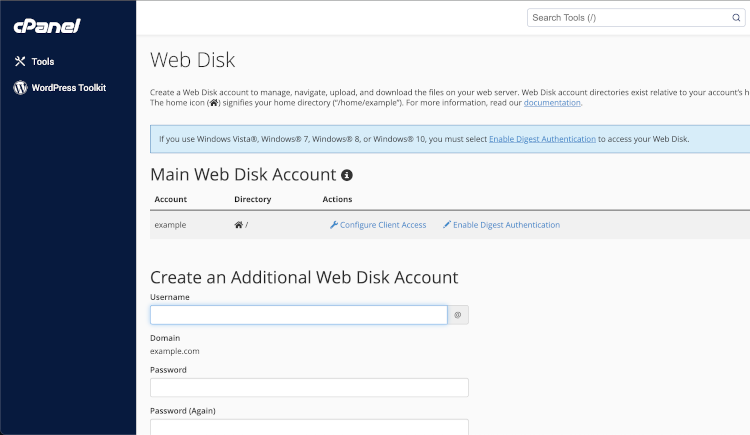
- Navigate to cPanel’s Web Disk interface (cPanel » Home » Files » Web Disk).
- If you run Microsoft Windows® Vista, 7, 8, or 10, perform the following additional steps to enable Digest Authentication:
- Click Enable Digest Authentication. A new window will appear.
- Enter your cPanel account’s password.
- Click OK.
- Click Configure Client Access next to the system user email account.
- Select your operating system.
- Install the software.
- Connect to your Web Disk account. It will now appear on your workstation as another drive.
- Drag and drop content to your server as needed.
You can use the following interfaces to upload your content:
- cPanel’s Git Version Control interface (cPanel » Home » Files » Git Version Control)
- cPanel’s File Manager interface (cPanel » Home » Files » File Manager)
- cPanel’s FTP Accounts interface (cPanel » Home » Files » FTP Accounts)
Perform additional steps
Now that your site is running, we recommend that you perform the following additional steps to secure and protect your server:
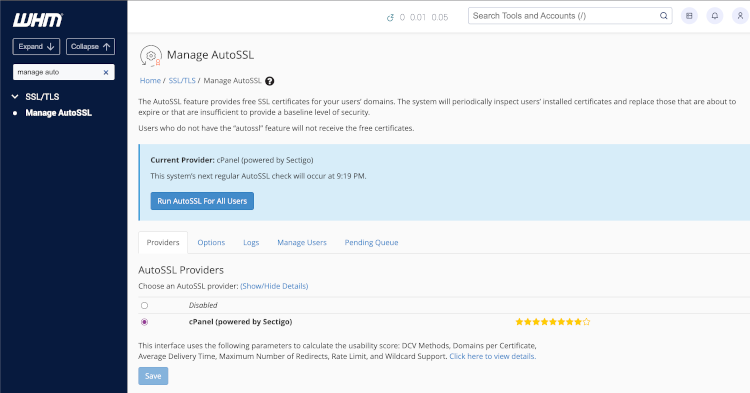
- Confirm that AutoSSL has obtained an SSL certificate for your website.
Note:
After you secure your site with a certificate, be sure to update any WordPress installations to use
https:secured locations instead ofhttp:insecured locations. - Create reseller accounts, packages, and feature lists to simplify selling hosting plans to your customers.
- Schedule and configure backups of your server.
- Run EasyApache 4 to select Apache and PHP modules for your server.
- Update MySQL® or change to MariaDB® for your server’s databases.
- Set notification preferences for your server and websites.
- Configure your server’s How to Configure Your Firewall for cPanel & WHM Services and cPHulk for security purposes.
- Purchase and install KernelCare to manage your operating system’s kernel.